Bas-Relief Thai Artwork at Temples in Thailand
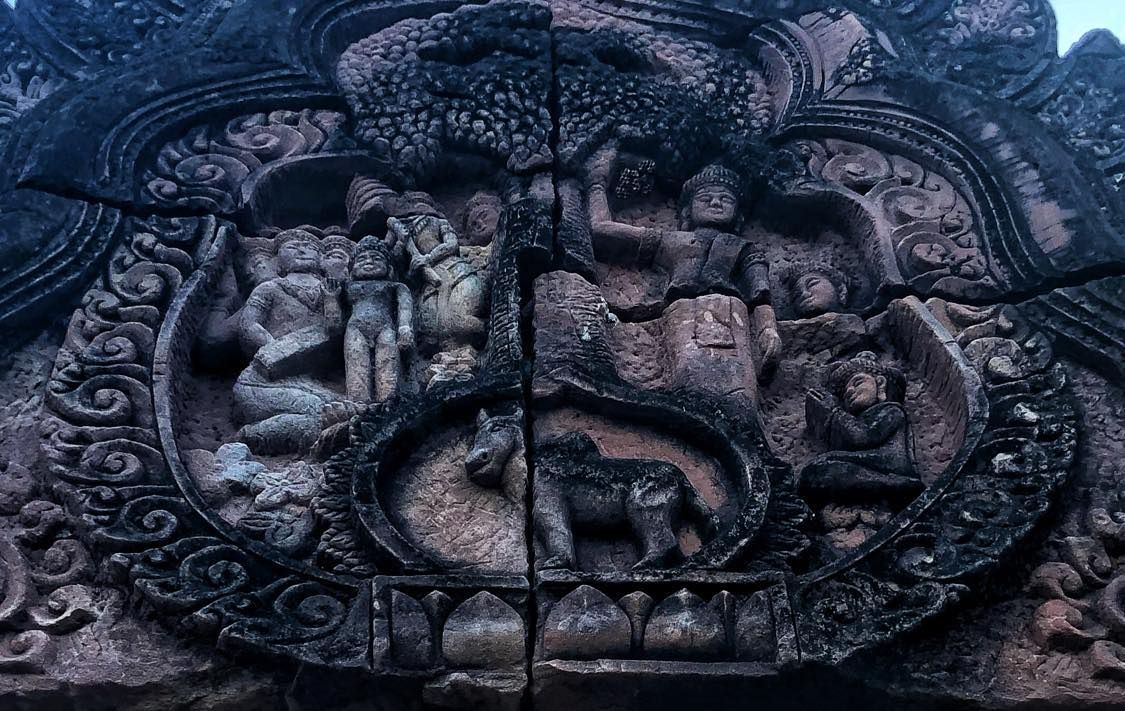
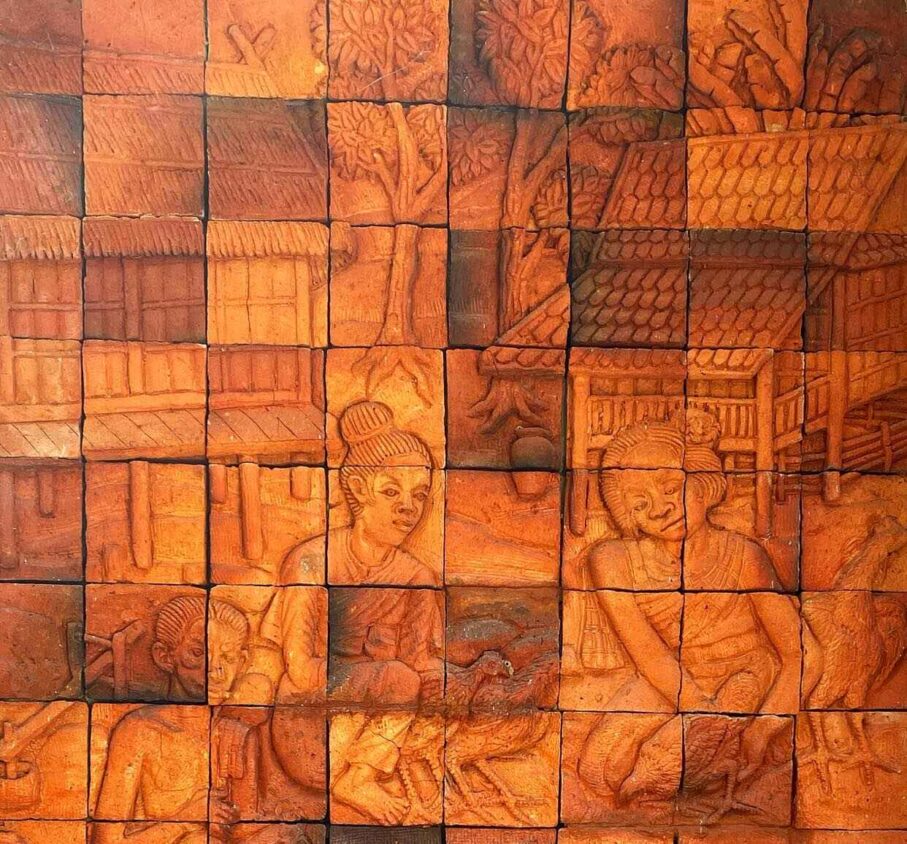
Seen above: Ancient bas-relief stone tiles at the Wat Non Sawan (วัดโนนสวรรค์), Phu Din Daeng, temple in Sakon Nakhon, Northeast Thailand.
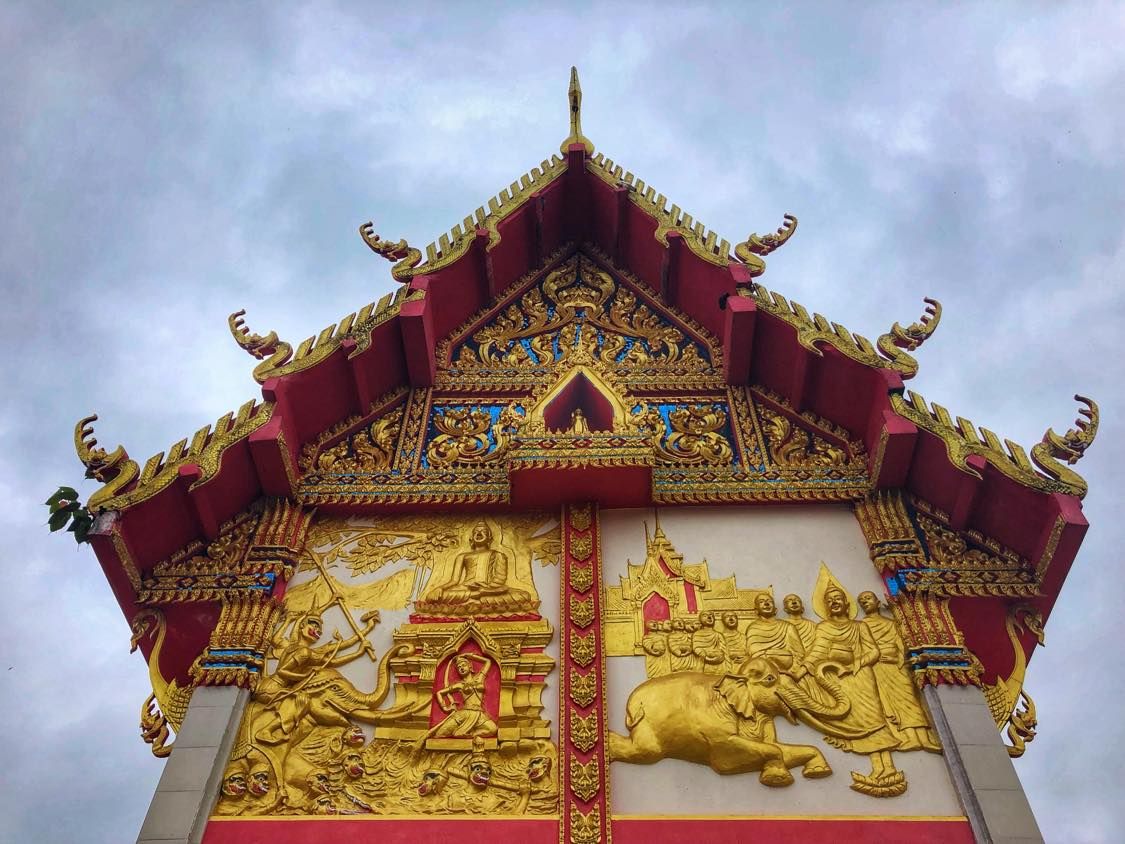
At Thai temples, you’ll often find murals made of tiles with raised images on them that fit together to form a scene from the life of the Buddha or a famous monk. This is called bas-relief artwork (ศิลปะนูนต่ำ), which is an extension of Thailand’s ancient stucco artwork (ศิลปะปูนปั้น) that began around the 11th century.
Thai stucco uses primarily a combination of sand, lime, and water to create the cement plaster of raised patterns and images that decorate many of Thailand’s 43,000+ temples. Bas-relief tile murals use additional materials.
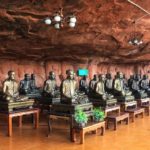
The museum for the famous Northeastern Thai monk, Ajarn Fun Acharo, at Wat Pa Udom Somphon in Sakon Nakhon has excellent examples of bas-relief tile murals that showcase the skills of Thai artisans. The murals depict scenes from the life of the revered Isaan monk, Ajarn Fun, who had a close relationship with King Bhumibol the Great.
How are Bas-Relief Tiles Created?
Bas-relief tiles, which feature a sculptured, raised surface, are made through a meticulous process that involves several steps that Thai artisans have refined over the decades.
These tiles can be created from various materials, including ceramic, porcelain, metal, and even stone or wood. The process can vary slightly depending on the material used, but generally, it follows these steps:
Design and Mold Creation
1. Design: The first step involves designing the pattern or image that will be featured on the tile. In Thailand this traditionally was done by hand, but computer software is now beginning to be used. The design is detailed and accounts for the depth and dimensions of the relief.
2. Mold Making: Once the design is finalized, a mold is created. Bas-relief tiles for a mural scene are generally one-of-a-kind creations. So, Thai artists will sculpt the design in clay or another pliable material to create a master model.
If they were making a tile for mass production, the master model would be made from a harder, more durable material, and then a mold is made from that. But every Thai temple is different, so you’ll rarely (if ever) see any tile murals formed by mass production models.
Bas-Relief Tile Formation
3. Material Preparation: The material for the tile is prepared. For ceramics or porcelain, this usually involves mixing clay, water, and other components to achieve the desired consistency.
4. Pressing or Casting: The prepared material is then placed into the mold. This is done by pressing the clay into the mold by hand, as most Thai craftsmen use an artisanal approach rather than employing machines. In some cases, the material is poured into the mold, especially if it’s metal or liquid clay (as when slip casting for ceramics).
5. Drying: Once the bas-relief tile has been formed in the mold, it needs to dry. The drying time can vary depending on the material and thickness. For clay, this step is crucial to prevent cracking during the firing process.
Finishing Touches
6. Bisque Firing: For ceramic tiles, after drying, the tile undergoes a first firing in a kiln, known as bisque firing. This process hardens the clay and prepares it for glazing.
7. Glazing (Optional): After the bisque firing, a glaze can be applied to the tile. The glaze can be applied to the entire tile or just specific parts, depending on the desired effect. Glazing can add color, texture, and make the tile water-resistant.
8. Glaze Firing: If the bas-relief tile has been glazed, it goes through another round of firing. The temperature and duration of this firing depend on the type of clay and glaze used.
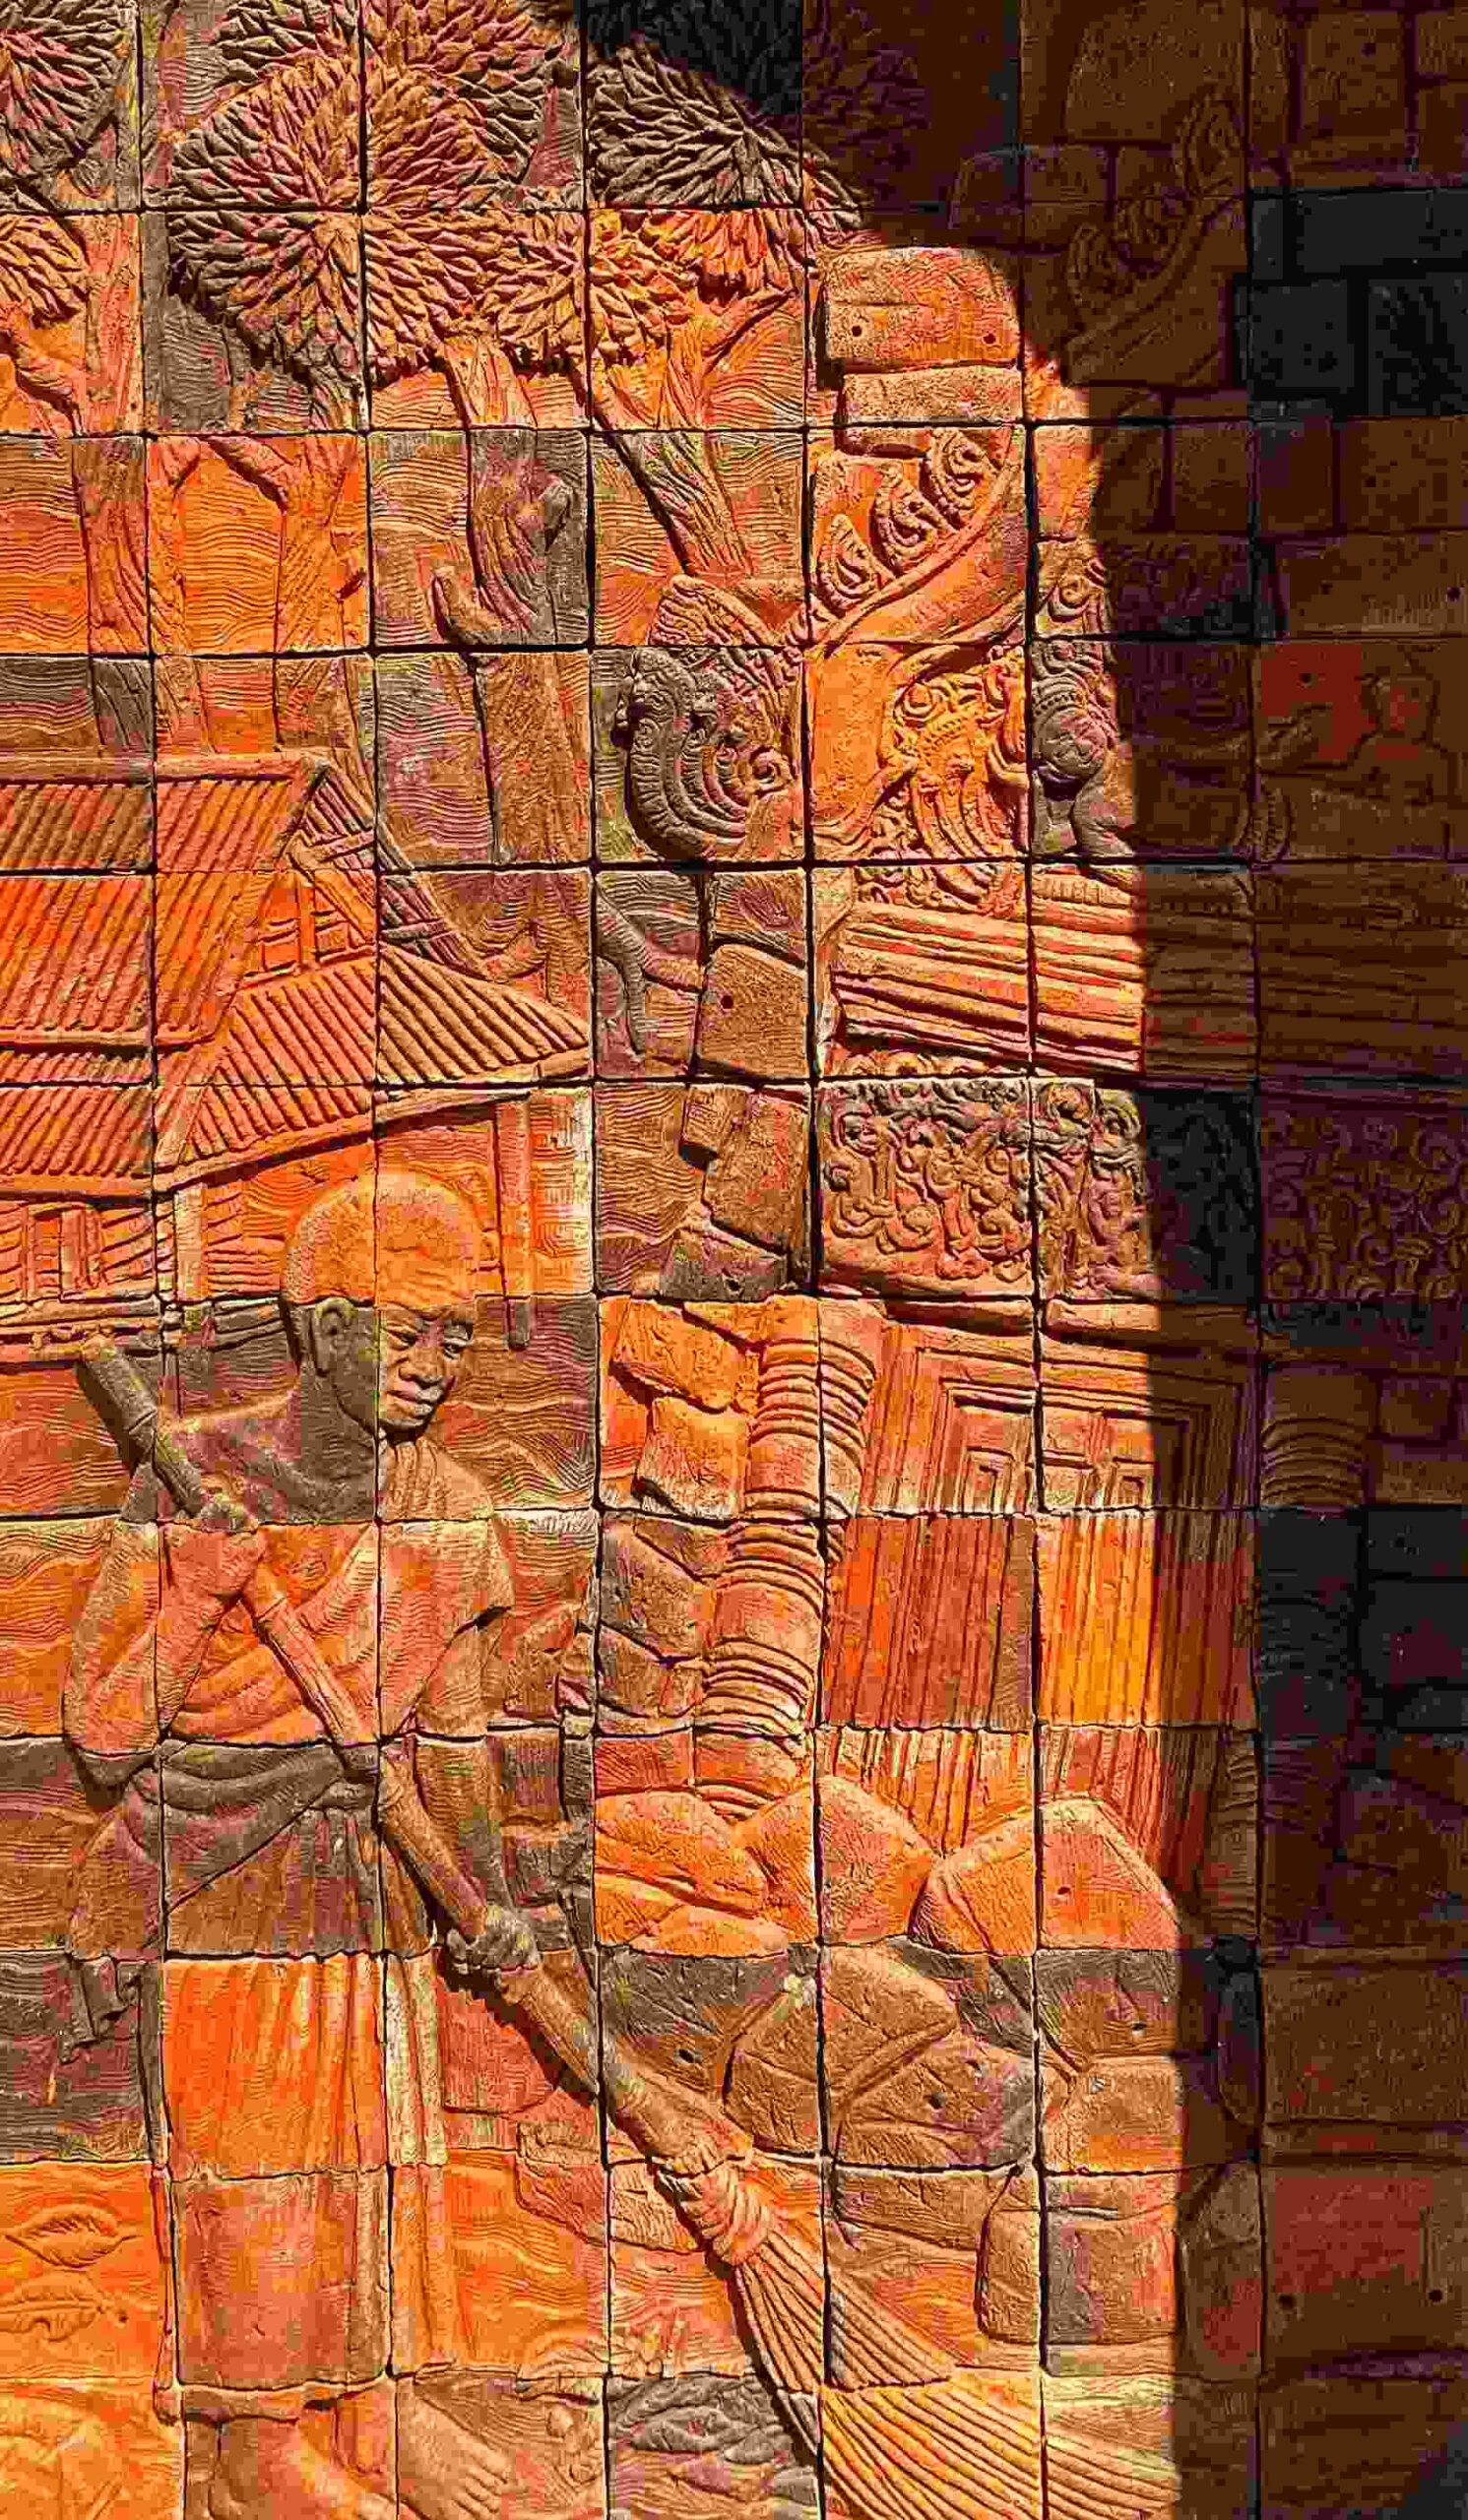
9. Final Touches: After firing, the tile might require additional finishing touches. This could include cleaning, polishing, or applying sealants, especially if the tile is intended for use in areas exposed to moisture or wear (like at the outside murals at the Ajarn Fun Acharo Museum).
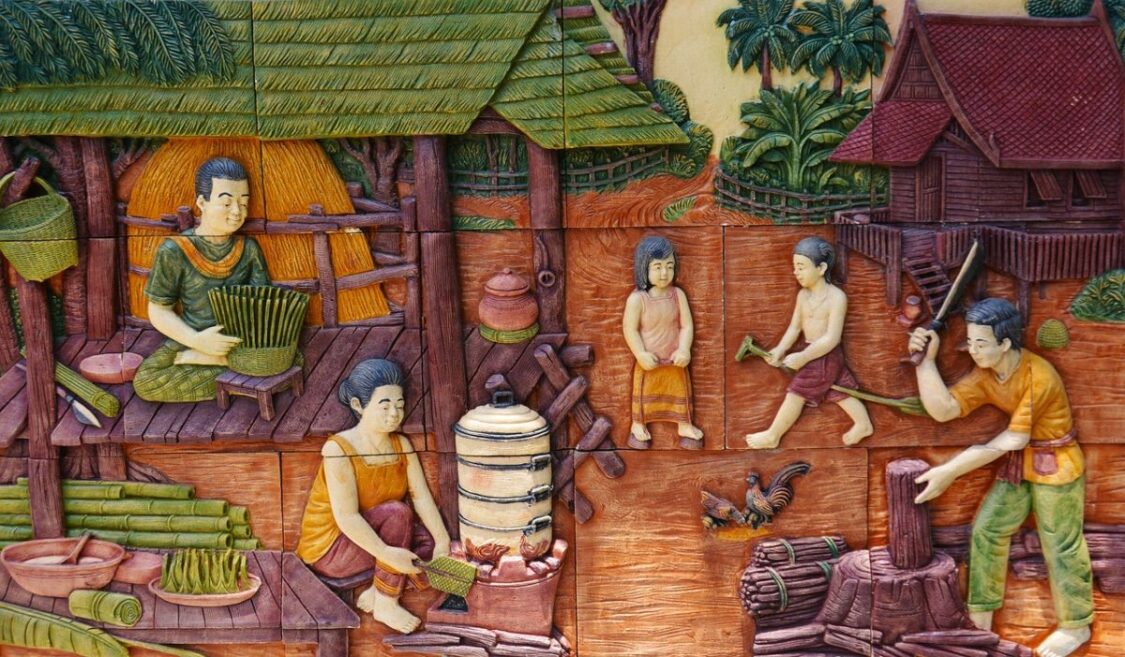
Creating a Bas-Relief Tile Mural for a Thai Buddhist Temple
The making of bas-relief tiles in Thailand combines artistic design with meticulous craftsmanship, resulting in decorative elements that can add depth and texture to any space. This is why they are seen at so many Thai temples.
When bas-relief tiles are made to fit together to form a larger mural scene of the Buddha or a famous Thai monk, the process involves additional planning and precision. This ensures that when the tiles are assembled, the design aligns seamlessly across the tiles, creating a coherent image or pattern. Here are the steps, including modifications and additions to accommodate the creation of a mural:
Initial Design and Planning
1. Mural Design: The overall design of the temple mural is created. This step requires careful planning to ensure that when the tiles are assembled, the design elements align correctly across tile boundaries. The design is segmented into tiles, taking into account the size of each tile and the overall dimensions of the mural. The abbot of the temple is often involved in this design process.
2. Tile Layout: A grid layout is often used to plan how individual tiles will fit together. This includes marking where the design crosses from one tile to the next, ensuring continuity.
3. Individual Tile Design: Each tile’s portion of the design is detailed, considering how it fits into the larger picture. This might require adjustments to ensure that the flow of lines or patterns is consistent across tiles when assembled.
Mold Making for Each Tile
4. Individual Molds: A separate mold is made for each unique tile design, especially if the tiles are not uniform or if the Buddhist mural incorporates varying levels of relief. The creation of molds must be precise to ensure that the tiles not only have the correct imagery but also fit together perfectly with minimal gaps.
Formation and Detailing
5. Consistent Material Preparation: For the tiles to fit together seamlessly, consistency in the material preparation is crucial. This ensures uniform shrinkage during drying and firing.
6. Precise Pressing or Casting: Each tile is formed with attention to the details that will align with adjacent tiles. This might involve using guide marks or other references to ensure that the design elements are correctly positioned within each mold.
Assembly and Adjustment
7. Dry Fit: Before firing, a dry fit of the formed but unfired tiles may be conducted. This step allows for minor adjustments if any misalignments or gaps are detected.
Firing and Finishing
8. Consistent Firing: Firing conditions must be consistent for all tiles to ensure uniform shrinkage and coloration, crucial for a coherent mural appearance.
9. Assembly Test: After firing, the tiles are assembled to check the fit and the continuity of the design across tiles. Any discrepancies in size or color can be identified and addressed.
Mural Installation Preparation
10. Numbering and Layout Plan: Once the final assembly check is complete, each tile is numbered according to its position in the mural. A layout plan is often provided to guide the installation process, ensuring each tile is placed in its correct location to form the mural scene of the Buddha or monk.
Final Touches
11. Installation Specifics: Depending on where the mural will be installed at the Thai temple, additional steps might be necessary to prepare the tiles. This could include the application of a specific backing, the addition of mounting hardware, or sealing the tiles to protect them against rain, heat, and direct sunlight.
So, as you can see, the creation of a bas-relief murals at Thai temples requires meticulous coordination from the design phase through production to final installation. Each step must be executed with precision, ensuring that the final assembly of tiles seamlessly brings the envisioned design to life.
I hope this post increases your appreciation of the artistry and skilled work involved the next time you see one of these Buddhist mural scenes in Thailand.
- Reframe Your Brain for Thai Learning - April 18, 2026
- A New Guidebook to Thai Culture & Life in Thailand - October 20, 2025
- Dreams in Thailand: Why You Should Pay Attention - August 25, 2025